

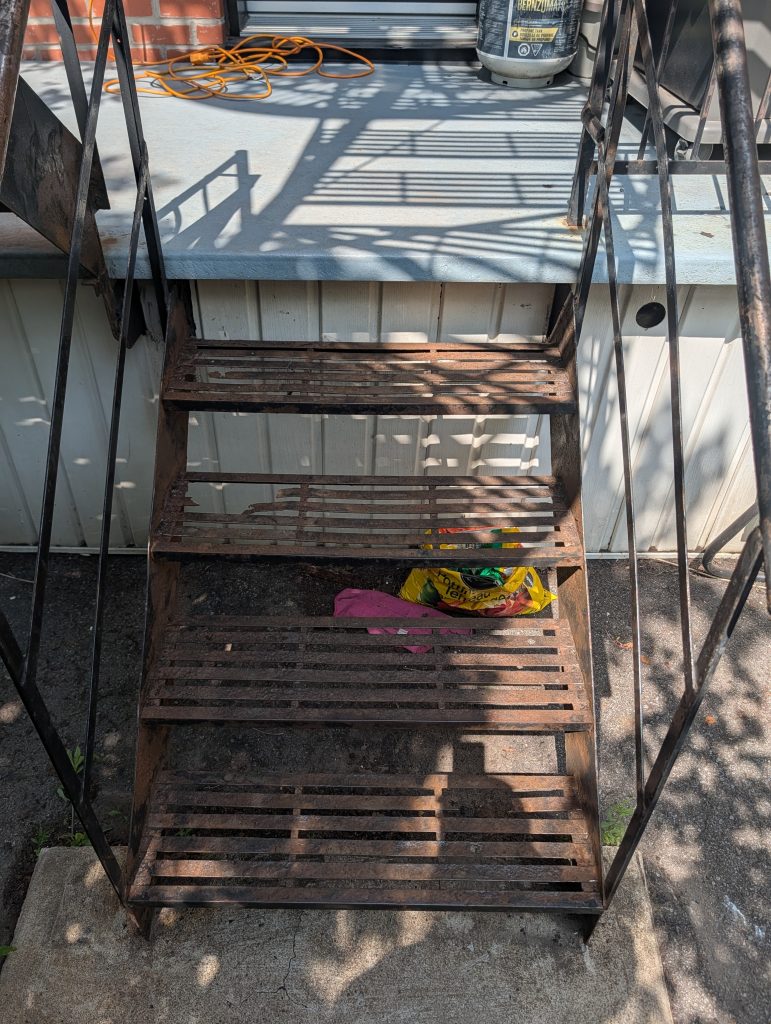
 A rusting wrought iron staircase is the fate of almost every plex and duplex owner in Montreal. The Quebec climate is merciless on metal: freeze-thaw cycles, humidity, de-icing salt, and UV rays. A staircase left to itself begins to show signs of rust within two or three seasons.
The good news is that a properly done restoration extends the life of your staircase by 5 to 10 years. Not just a coat of paint over the rust, but real stripping, a rust-inhibiting primer, and a suitable finish. This guide goes beyond the 3 basic steps you find elsewhere. This is the complete, step-by-step process, with the products, the tools, and the mistakes to avoid.
What you will learn
This guide covers the restoration process as a professional does it in the field in Montreal. We are not talking about tinkering with an aerosol can—we are talking about the real work: inspecting, stripping, treating rust, priming, painting, and protecting for the winter.
Step 1: Inspection and assessment
Before touching anything, inspect the staircase from top to bottom. This step decides everything: can you restore it, or do you have to replace it?
The 4 critical points to check
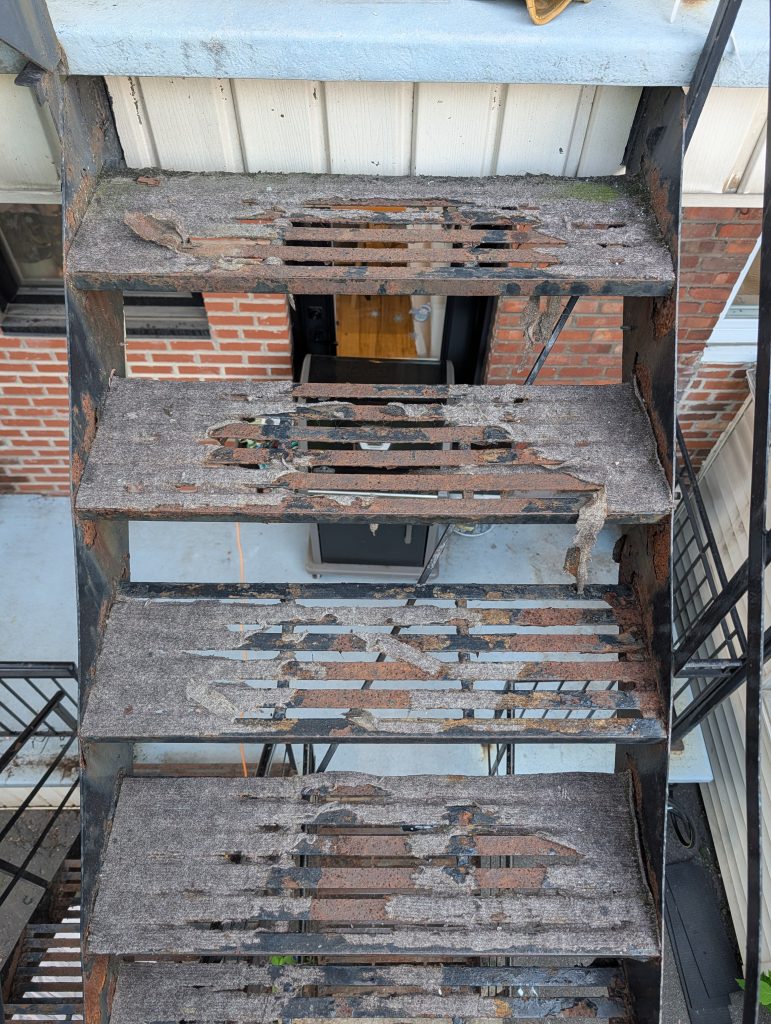
The base anchored in the cement. This is the number one spot where rust attacks. The cement corrodes around the base, water pools, and the wrought iron rusts through. If the metal is pierced at the base, the structure is compromised—it is a replacement, not a restoration.
The post or the keel which supports the staircase. A drilled central post = replacement. No half measures there.
The lemons — the inclined members that support the steps. If a stringer is drilled through, replacing just that piece costs more than a new staircase. At 130 $ per hour for two workers, partial repairs to structural members are rarely worth the cost.
The bars and rungs. If the rust is surface only (flaking, dull spot, pitting), restoration works. If the metal bends under pressure, it's done for.
Step 2: Site preparation
Before stripping, protect everything that is not the staircase. Metal dust and paint chips travel far.
- Cover the lawn, flower beds, and the concrete underneath with tarps or sheets.
- Mask the doors, windows, and siding of the adjacent building with masking tape and poly film.
- Keep the animals away and inform the neighbors—the noise from the grinder and the dust are intense.
- Check the weather: you need 2 to 3 dry days, without rain, with temperatures between 10°C and 30°C. Avoid direct sunlight (the paint dries too quickly) and humid days.
Tools and materials needed
For stripping:
- Hard-bristled wire brush (manual)
– Angle grinder with flap disc or knotted wire brush
– Paint scraper
– Iron file
– Drill with wire brush (for hard-to-reach areas)
For cleaning:
– Acetone or methyl hydrate (no water — water accelerates rust)
- Clean, lint-free cloths
– Degreaser (optional for very greasy areas)
For the paint:
- Industrial-grade rust-inhibiting primer (see the material comparison article)
– Finishing paint for exterior metal (alkyd or two-component epoxy)
- Quality brushes (different widths depending on the design)
- Small paint roller for flat surfaces
– Paint tray
Protective equipment (non-negotiable):
– Safety glasses
– Protective gloves
– Respirator mask (N95 minimum, P100 ideal for metal dust and solvents)
– Long clothing and closed-toe shoes
Step 3: Stripping and rust removal
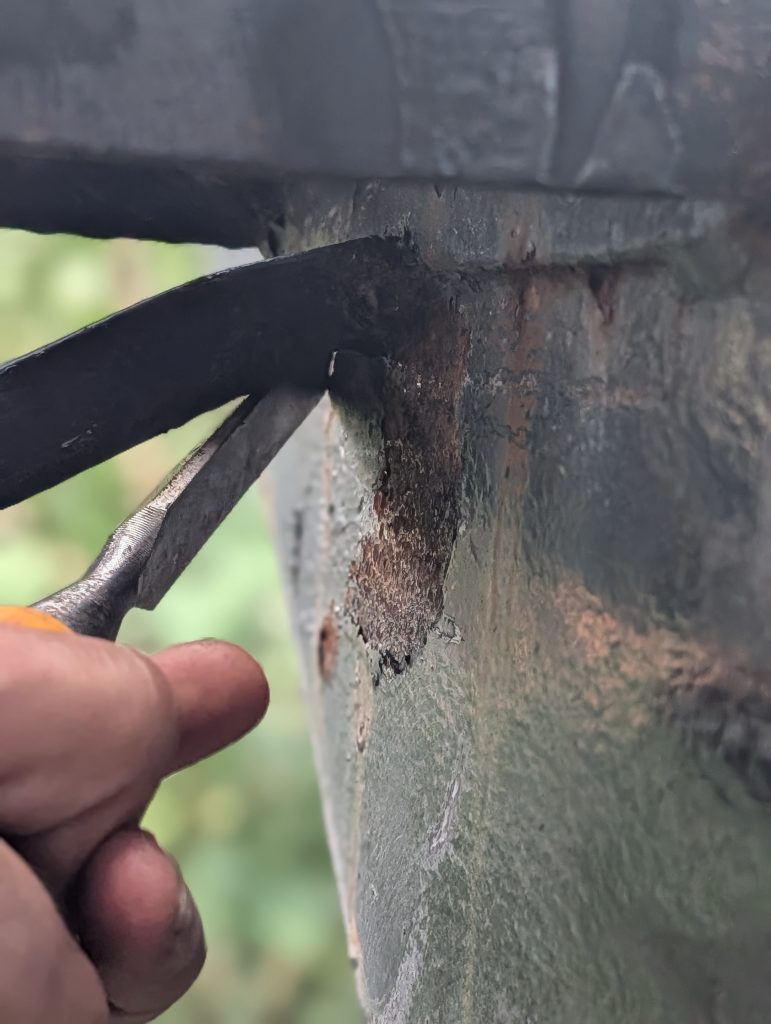
This is the step that makes the difference between a restoration that lasts 8 years and one that peels after a single winter. Preparation accounts for 70 % of the work.
Mechanical stripping (grinding)
The most common method in Montreal for residential stairs. Use the angle grinder with a knotted wire cup brush to remove stubborn rust and peeling paint. Work in all the corners—the scrolls, the joints, the underside of the steps. That's where the rust hides.
For hard-to-reach areas (between bars, in corners), use the drill with a wire brush or the iron file. The hand brush is used for finishing touches and small areas.
Important: Do not polish the metal to a mirror finish. A slight texture (fine scratches) helps the primer adhere. Metal that is too smooth results in poor adhesion.
Sandblasting (alternative)
For very rusted stairs or large projects (condos, multi-story triplexes), sandblasting is faster and more efficient. It reaches areas that the grinder cannot touch. However, it requires professional equipment, significant dust containment, and is not suitable for residential use between neighboring buildings.
Most homeowners in Montreal do not have access to sandblasting. Mechanical grinding is the realistic method for a residential project.
Rust converter (for residual rust)
After mechanical stripping, there will always be traces of rust left in the metal pores—this is normal. That is where a rust converter (such as Rust-Oleum Rust Reformer, Corroseal, or Loctite Extend) comes into play. It reacts chemically with the iron oxide and transforms it into a stable black layer that blocks corrosion.
Apply the converter to the areas where residual rust remains, let dry according to the manufacturer's instructions (usually 24 hours), then proceed to the primer.
Final cleaning with acetone
Once stripping is complete, clean the entire surface with a cloth soaked in acetone or methyl hydrate. This removes dust, grease, and chemical residue.
Do not rinse with water. This is the most common mistake. Water introduces moisture into the pores of the metal and accelerates the formation of new rust even before you have applied the primer. Acetone evaporates quickly and leaves a clean, dry surface.
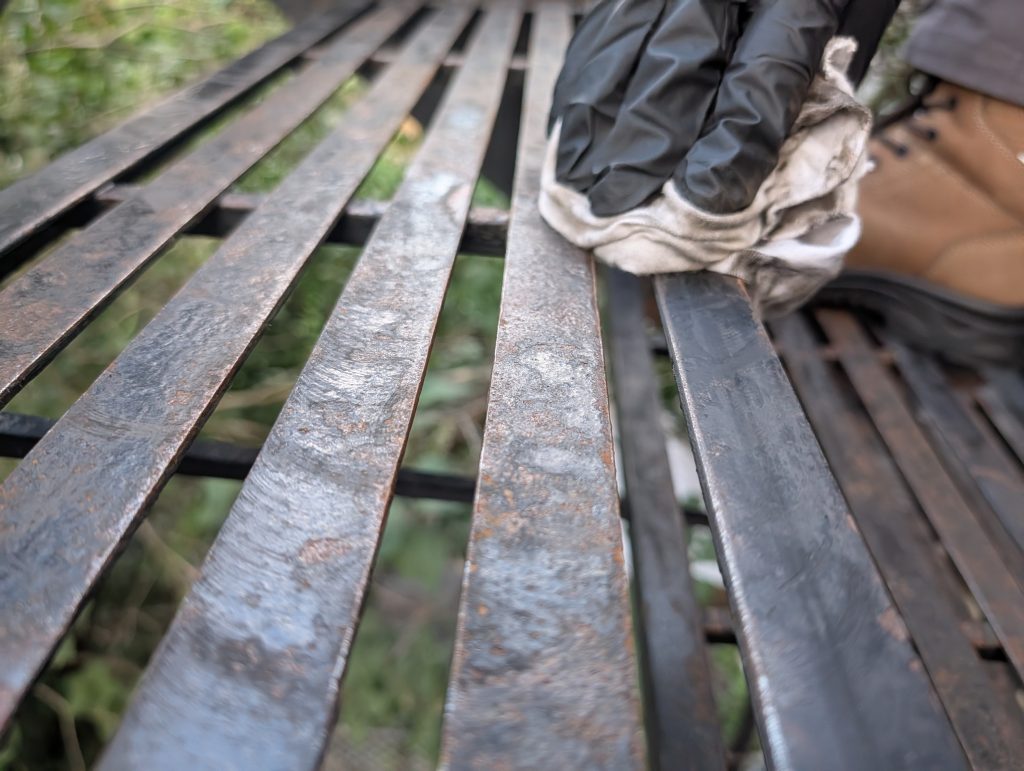
Bare metal can begin to rust after a few hours, particularly in humid conditions. If several hours or days have passed before applying the primer, lightly sand the surface just before priming.
Step 4: Applying the anti-rust primer
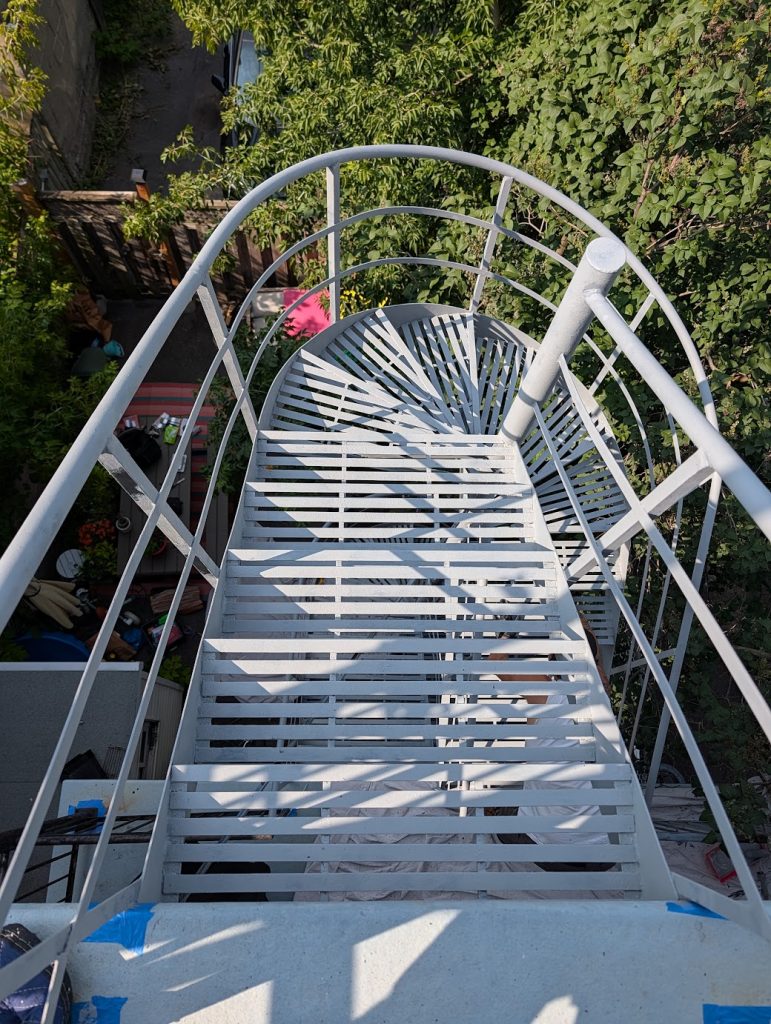
The primer is the most important coat in the system. It is the one that blocks rust, not the finish paint. Quality paint over a bad primer = a peeling result. A good primer under average paint = a lasting result.
Which primer to choose
For an outdoor staircase in Montreal, you want a industrial-grade anti-rust primer, not a generic hardware store primer. The options:
- Two-component epoxy primer : the industrial standard. Two parts to mix (resin + hardener). Offers the best corrosion protection, but requires limited working time after mixing (pot life).
- Zinc-rich alkyd primer easier to apply, good protection, cheaper than epoxy.
- Water-based acrylic primer : more ecological, lower VOC content, but less durable on exterior metal exposed to salt.
For most residential projects, a zinc-rich alkyd primer is the right balance of cost, ease of application, and durability.
Application
Apply the primer with a brush and roller over the entire stripped surface. Make sure to cover hard-to-reach areas — the underside of the stairs, the joints, the bases of the balusters. These are the areas where rust returns first.
Respect the drying time indicated by the manufacturer before applying the finish paint. Generally 4 to 8 hours to the touch, 24 hours for full handling. Do not rush this step.
Step 5: Finish painting
Which paint to choose
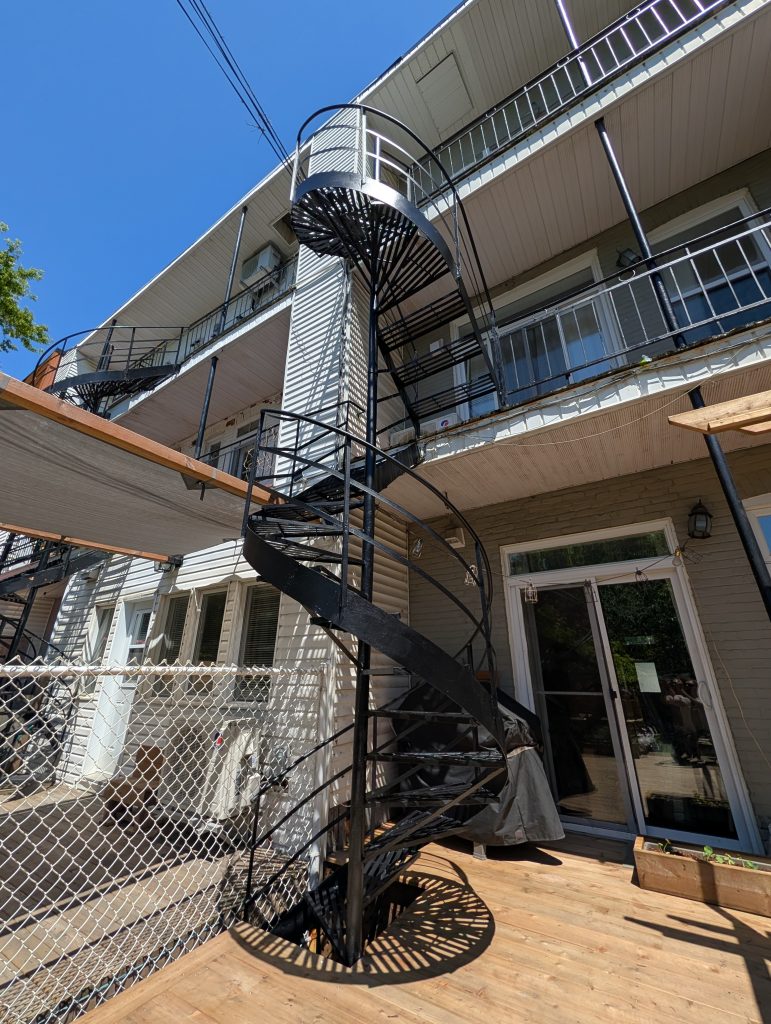
For an outdoor staircase in Montreal, three main families:
Rust-preventive alkyd (oil-based) paint : the most accessible. Tremclad, Rust-Oleum Protective Enamel, Benjamin Moore IronClad. Good durability, smooth finish, easy to apply with a brush. Disadvantage: fades slightly under UV light and requires a solvent for cleaning.
Two-component epoxy paint : the most durable. Used in industrial environments. Resistant to salt, abrasion, and UV (with a polyurethane finish on top). More expensive, more technical to apply, but lasts 2 to 3 times longer than standard paint.
Acrylic paint for metal : more ecological, less VOC, cleans with water. But less durable on exterior surfaces exposed to salt. To be reserved for sheltered areas (under a covered balcony, for example).
Application
Apply two coats of finish paint using a brush and roller. The brush for the bars, scrolls, and complex areas. The roller for the treads, stringers, and flat surfaces.
Respect the drying time between coats (4 to 8 hours depending on the product). The second coat must be applied before the first one is completely cured (check the recoating window on the product label).
For the stairs, add a non-slip additive (silica) to the final coat. This is what prevents the staircase from turning into an ice rink in the winter.
Step 6: Drying and finishing touches
Allow to dry for at least 24 hours before allowing normal traffic on the stairs. The paint continues to cure for 7 days—avoid impacts, scratches, and salt during this period.
Final touches
After the second coat, inspect the stairs from different angles. Look for drips, missed areas, and bubbles. Touch up with a small brush.
For enhanced protection on high-wear areas (steps, handrails), a third coat is not excessive. It's the kind of detail that separates a job that lasts 3 years from one that lasts 8.
The 7 mistakes that ruin your staircase
These mistakes keep coming up. Avoiding them already gives you a head start.
- Paint over the rust. Rust continues to spread beneath the paint. Within a few months, it bubbles and peels. Always strip down to bare metal.
- Use water to clean. Water accelerates rust. Use acetone or methyl hydrate.
- Skip the primer. Finish paint alone does not block rust. Rust-preventative primer is non-negotiable.
- Painting in damp or too cold weather. Adhesion is compromised. The paint blisters or does not dry properly. Wait until the temperature is 10°C or higher and the humidity is below 70 %.
- Neglecting hard-to-reach areas. The underside of the steps, the joints, the bases of the bars. That is where the rust returns. If you do not reach them, the restoration fails.
- Single top coat. At least two coats. Steps exposed to salt deserve three.
- Do not add non-slip material to the steps. A painted stair becomes slippery, especially when wet or icy. The silica in the final coat prevents falls.
When to call a professional
Restoring a metal staircase is a realistic project for an experienced DIYer, but there are cases where a professional is worth the investment:
- Two-story staircase or complex spiral staircase the preparation time is 3 to 4 times longer, and the hard-to-reach areas multiply.
- Structural rust : if you need to weld parts, it is a professional job.
- Condo or co-ownership property managers often require a licensed (RBQ) and insured company.
- No equipment : A good grinder, PPE, and high-quality products cost between 300 $ and 500 $. If you don't have the equipment, the marginal cost of hiring a professional is low.
- Lack of time A standard staircase takes 8 to 16 hours of actual labor. A pro does it in one day.
For a standard straight staircase in a duplex, the cost of a professional restoration ranges from 600 $ to 1,200 $ for labor, plus materials. That’s the price you pay to avoid having to redo it in two years.
Post-restoration maintenance
A well-done restoration lasts 5 to 10 years. But only with minimal maintenance:
- Annual inspection in the spring — look for emerging rust spots.
- Touch-ups as soon as a stain appears — do not wait for it to spread.
- Spring cleaning to remove salt and winter residue.
- Complete repainting every 2 to 3 years for salt-exposed stairs, and 5 to 8 years for the rest of the structure.
That’s where preventive maintenance makes all the difference. A well-maintained staircase lasts 25 to 30 years. A neglected staircase lasts 5 to 7 years. The difference is enormous, and the cost of maintenance (less than 200 $ per year, amortized) is a fraction of the cost of replacement (5,000 $ to 20,000 $).
